
Mission Control
Mission Control is the live gate workspace in MyWatchtower for community gate staff. From a single screen you can look up properties and people, scan a driver's license or entry QR code, call a resident's priority contacts, open the gate, and record every entry as vehicles arrive.
Opening Mission Control
- Step 1: Sign in to MyWatchtower. Gate staff are taken to Mission Control automatically when they select Dashboard.
- Step 2: If you land on the staff dashboard instead, use the dashboard mode selector (or the Mission Control call-to-action, "Manage live gate operations") to switch views.
- Step 3: Choose your gate from the Access Point selector. Your selection is remembered on the device — see Record an Entry in Mission Control for Set Default and the post-entry reset.
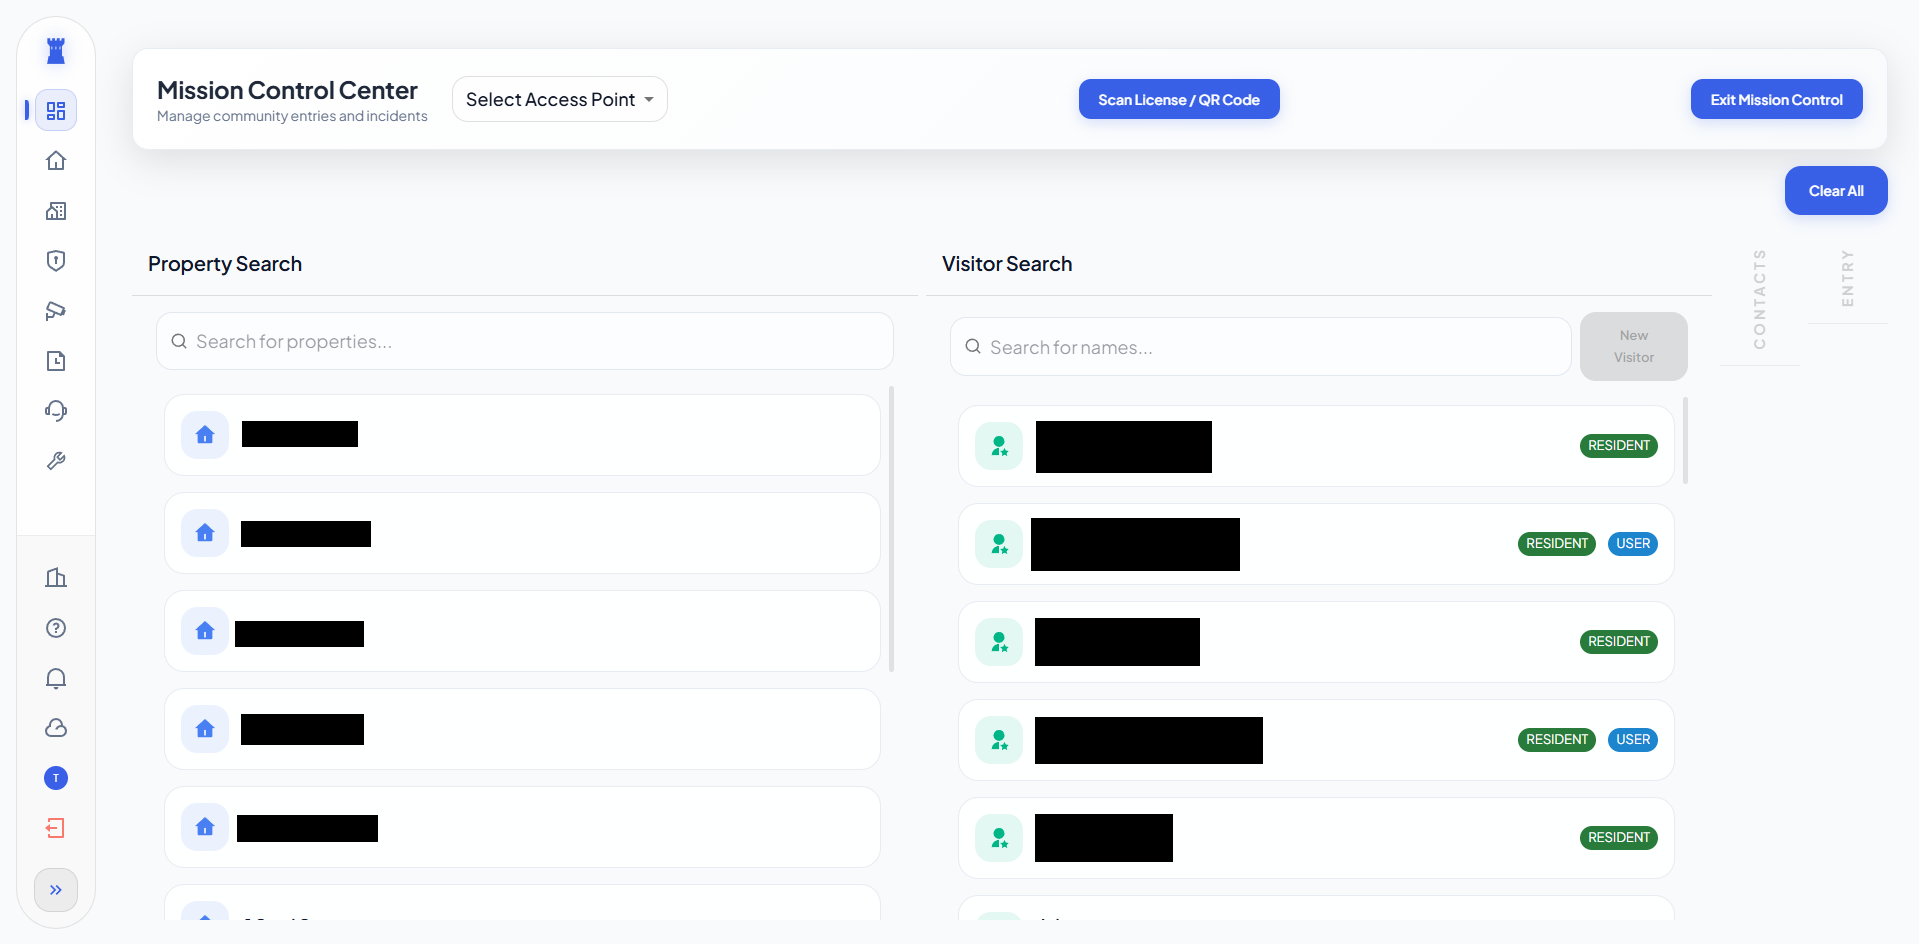
The four panels
- Property Search — type an address, house number, or street name and select the matching property to load its people and contacts.
- Visitor Search — search the people tied to the selected property. For result tags, entry-schedule flags, and searching across a community group, see How to Find Properties and Residents in Mission Control.
- Priority Contacts — the property's contact list, in the order the household wants to be called when an unexpected visitor arrives. Start at the top and work down until someone answers.
- Entry Management — once a property and a visitor are selected, use Record Entry to log the result — see Record an Entry in Mission Control.
Row size
At the right end of the control row, on both search steps, a toggle switches the results table between compact (the default) and comfortable rows. Comfortable rows are taller, with a larger photo and more space between rows, for staff who want them easier to read at a distance. The choice is kept on this browser.
Visitor photos
When a visitor is selected, the entry panel shows their photo next to their details — select the photo to enlarge it. Photos appear in place of the automatically generated initials, so you can check that the person at the gate matches their record. If a visitor has no photo yet and your account has photo permission, you can upload one directly from the entry panel.
Scanning licenses and QR codes
- Step 1: Select Scan License and capture the barcode on the back of a driver's license, either with the device camera or the web scan dialog.
- Step 2: MyWatchtower matches the scanned name to an existing resident, guest, or vendor and fills in the property automatically. The Scanned Data dialog shows the first, middle and last name from the license and nothing else.
- Step 3: If there is no match, the form opens pre-filled with the name so you can create the visitor manually.
A scan you do not process is dropped ten minutes after it was taken: the page clears what the scan filled in, returns to the first step, and says why. Scan again when the visitor is ready.
Entry QR codes issued by residents can be scanned the same way. To add someone who is not yet in the system, see Create a Visitor at the Gate. Check the existing visitor list first to avoid duplicate records.
On phones and tablets, the scanner recovers on its own if the camera stalls, and it keeps your flashlight choice between scans. If camera access is blocked for the app on the device, Mission Control says so and offers an Open Settings shortcut so you can allow it.
Opening the gate
With an access point selected, the Open Gate control operates that gate directly, whether the community's hardware runs on Brivo or HID. For the desktop and mobile controls and the unavailable states, see Open a Gate from Mission Control.
Offline Mode
When the server cannot be reached and your community has offline data downloaded, offline mode turns on by itself and ends by itself when the server answers again. Property and visitor search keep working from the downloaded data, and Record Entry still works for a visitor in that data: the entry is queued on the device and sent when the connection returns. The entry step shows the number of entries waiting. Visitor creation, QR processing and license scanning are paused until you are back online. See Using Offline Mode for downloading data, the Work offline switch, and what to do with an entry the server refused.
Good habits at the gate
- Confirm the person in front of you matches the ID, photo, or record on screen before opening the gate.
- Use Priority Contacts whenever you are unsure — the household set that order for a reason.
- Record every entry and every denial so the entry log stays complete.
- Keep visitor details private and share them only as your duties require.